This guide shows how to install HA(Supervised) on the Orange-Pi 3LTS board using Debian 11. Home Assistant is a free and open-source platform for home automation that controls almost all smart devices in one place. And the most popular way to install HA is by using raspberry-pi, but now a day is almost impossible to find one board to buy. Therefore Orange-Pi is a similar single board computer with better price and availability.
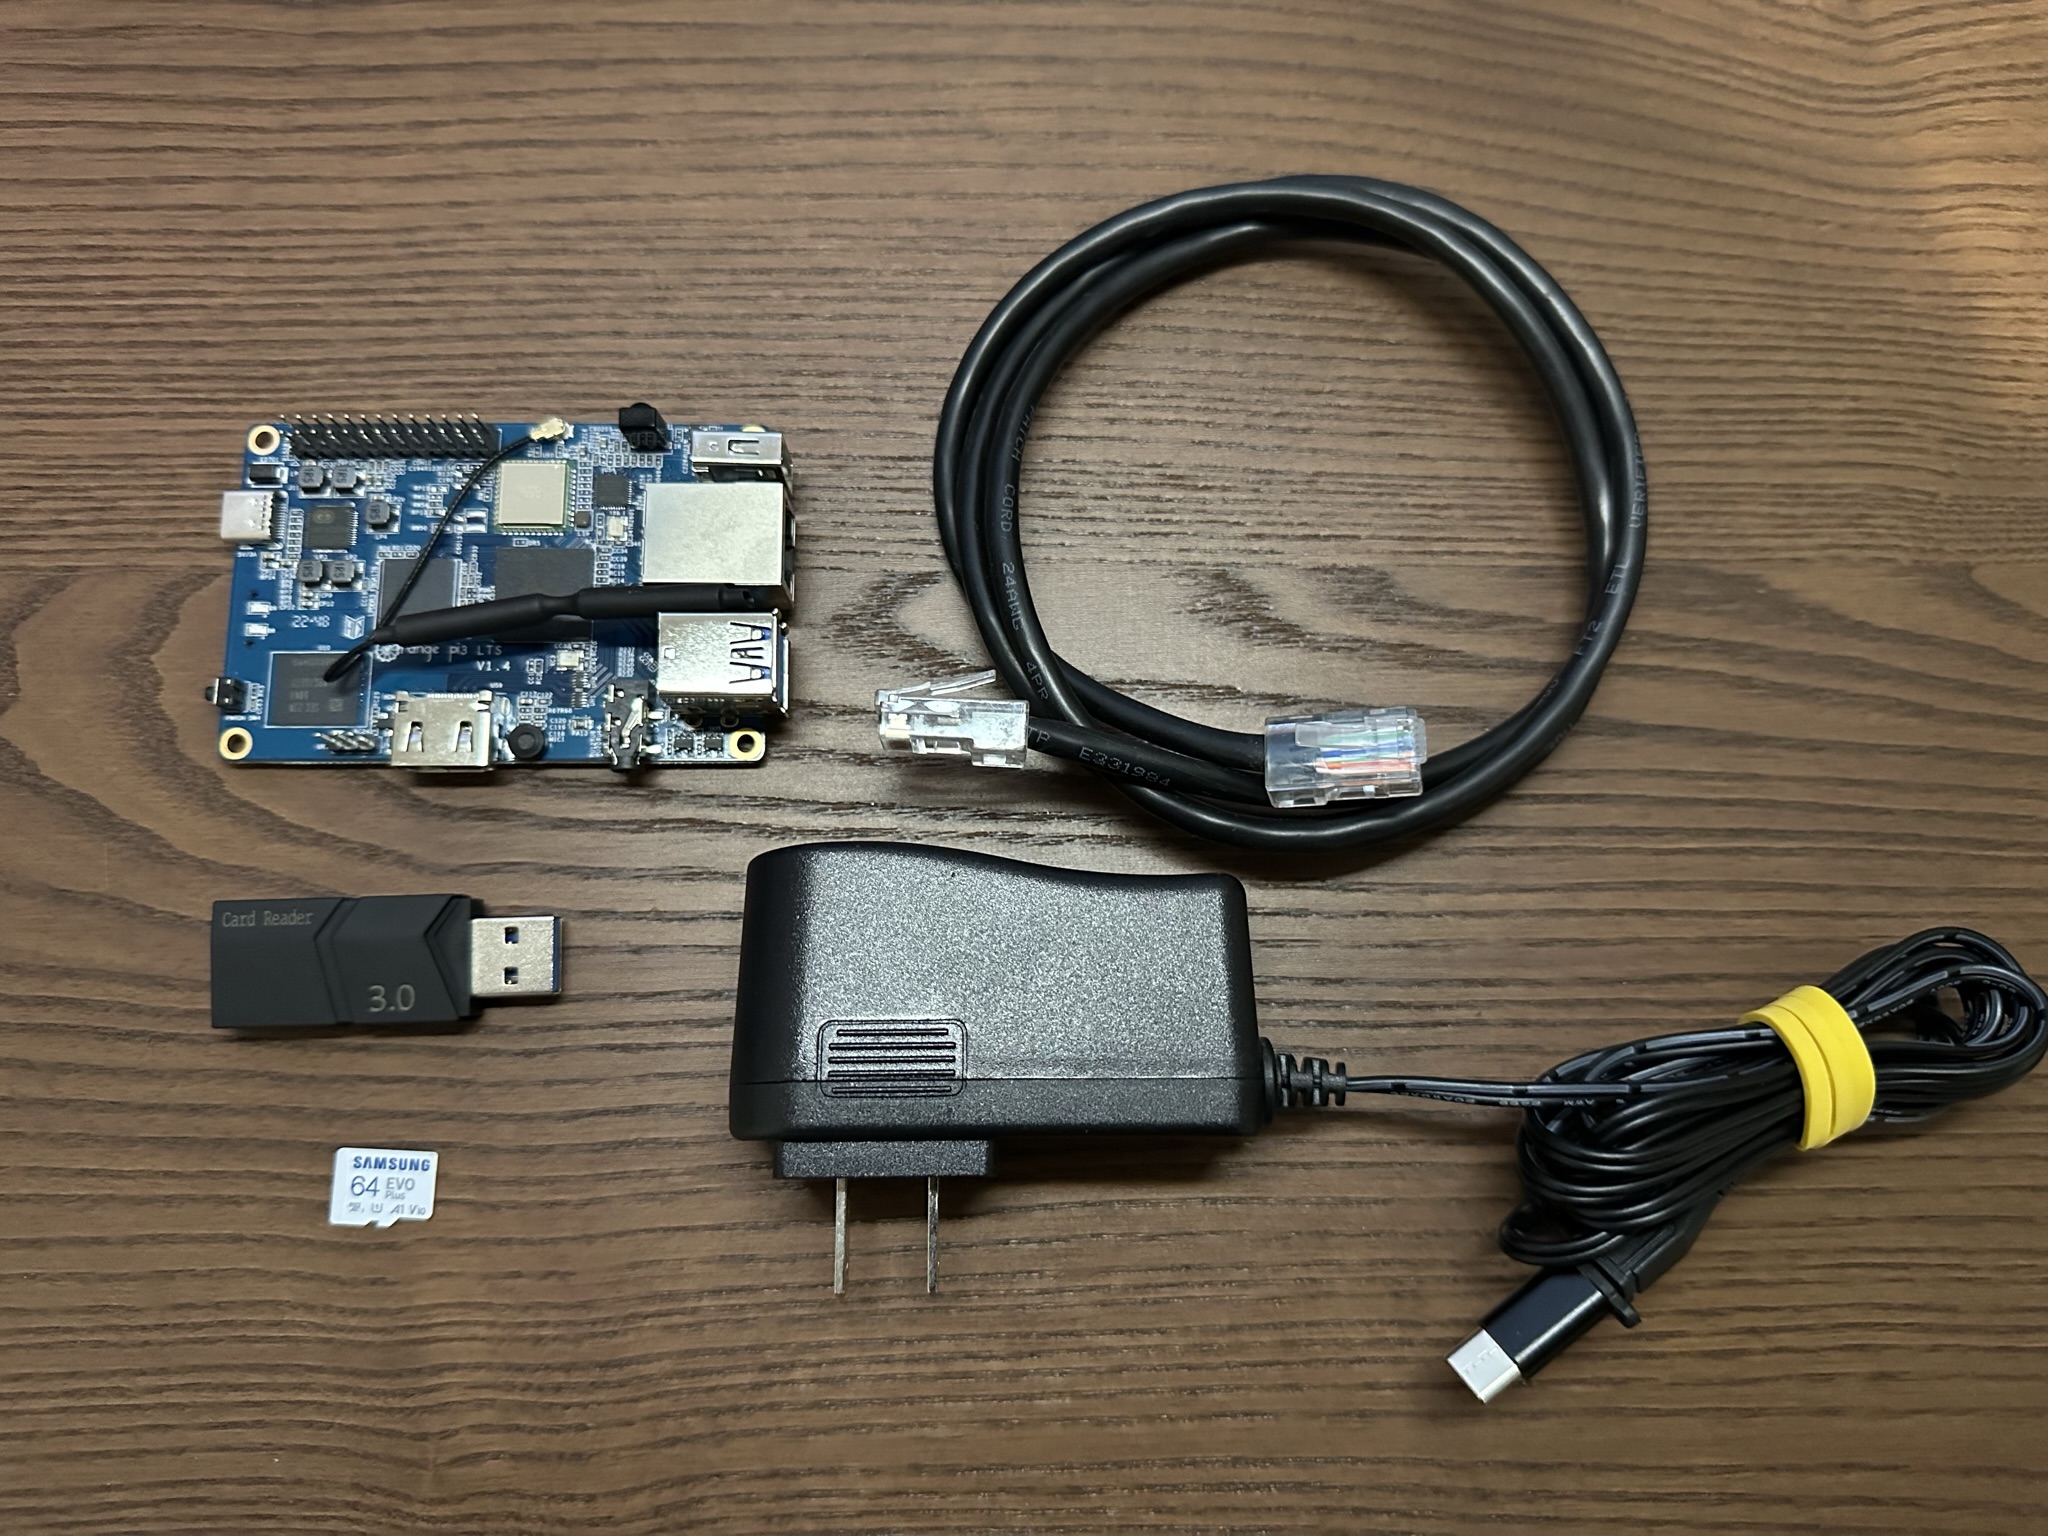
Materials:
OrangePi 3 LTS
Micro SD adapter to USB
SD Memory card
USB-C Power Supply 3A
Ethernet Cable
Downloads:
Debian 11
Rasberry Pi Imager
Terminus it’s a easy way to ssh on macOS, Win, Linux, iOS, and Android
Write the Debian image:
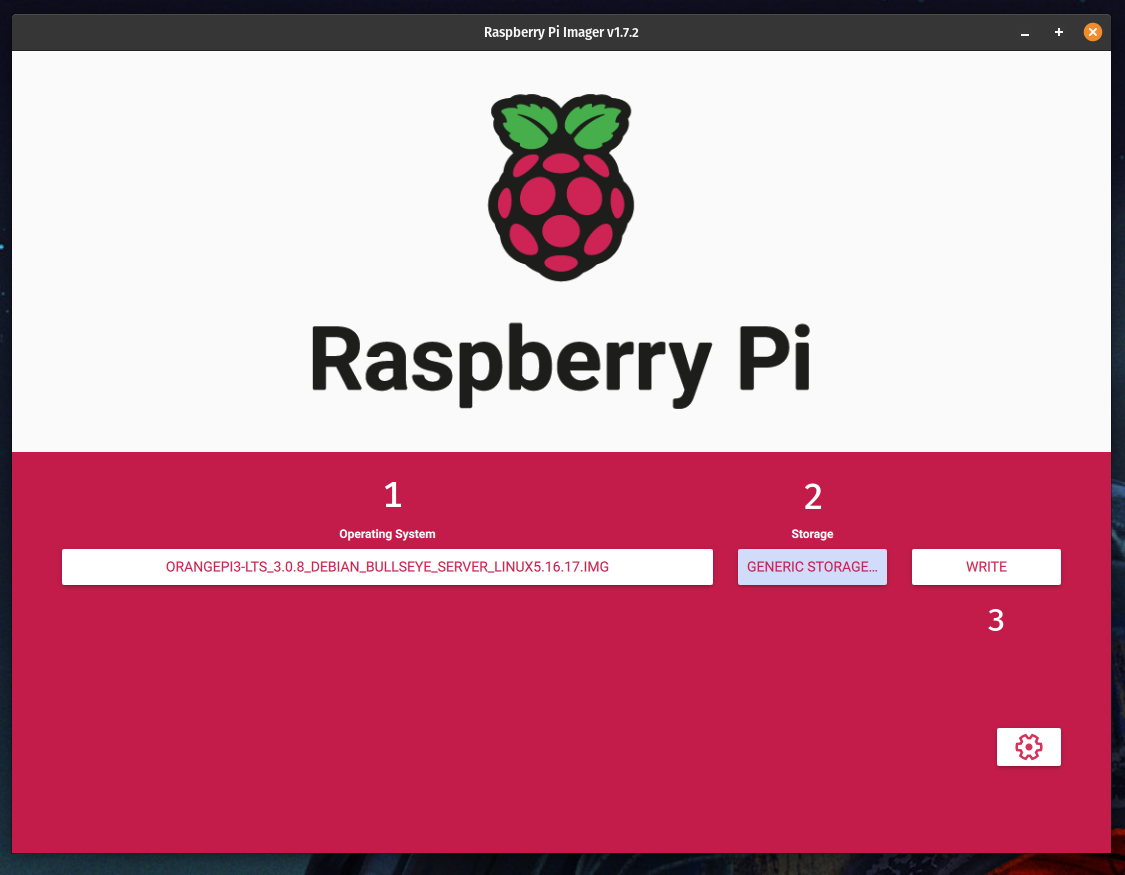
Using RasberryPi Imager write the Debian on the SD Card:
- On operation System click on
CHOOSE OS>User Customand then find your Debian 11 image. (Don't forget to unzip the .7z file) - Select your SD Card on
Storagesection - Last step make sure you have the right storage and them click on
WRITE![pic1]()
After writing the SD card put on your orange-pi, connect your Ethernet cable to your router, and then plug in the USB-C power supply.
Now go to your router, and look for the Orange-pi IP. 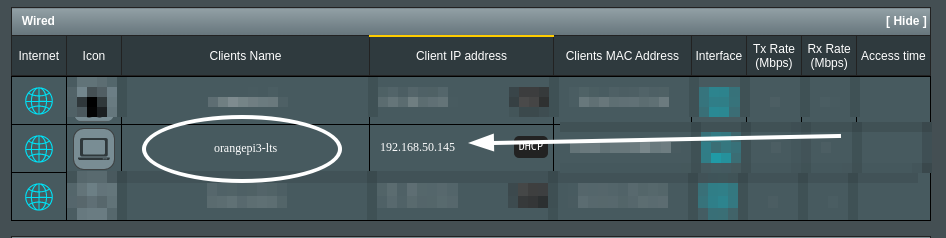 ) Open your terminal, and access your Orange-pi via SSH.
1
ssh root@<orangepi-IP>
The default password is: orangepi
This is the welcome panel 
Instalation:
Update and upgrade the Debian
1
apt update && apt upgrade -y
Create groups
1
groupadd docker
Add a new user
1
useradd -s /usr/bin/bash -g users -G adm,sudo,docker -m <User Name>
Password to your new user
1
passwd <User Name>
Install the basic programs before installing home assistant
1
2
3
4
5
6
7
8
9
10
11
12
13
14
apt install \
sudo \
jq \
wget \
curl \
udisks2 \
apparmor \
neovim \
ca-certificates \
lsb-release \
libglib2.0-bin \
network-manager \
systemd-journal-remote \
dbus -y
Add Docker’s official GPG key
1
2
mkdir -p /etc/apt/keyrings
curl -fsSL https://download.docker.com/linux/debian/gpg | gpg --dearmor -o /etc/apt/keyrings/docker.gpg
Command to set up the repository
1
2
3
echo \
  "deb [arch=$(dpkg --print-architecture) signed-by=/etc/apt/keyrings/docker.gpg] https://download.docker.com/linux/debian \
  $(lsb_release -cs) stable" | tee /etc/apt/sources.list.d/docker.list > /dev/null
install docker engine
1
2
chmod a+r /etc/apt/keyrings/docker.gpg
apt update
install the latest version
1
apt install docker-ce docker-ce-cli containerd.io docker-compose-plugin
Fix some problems with cgroup
1
2
echo "systemd.unified_cgroup_hierarchy=false" > /etc/default/grub
echo "systemd.unified_cgroup_hierarchy=false" >  /boot/cmdline.txt
Reboot your system
1
reboot
Wait 1~2 min and then ssh with your new user
1
ssh YOURNEWUSER@192.168.0.35
Download latest agent-os and supervised
1
2
3
4
curl -s https://api.github.com/repos/home-assistant/supervised-installer/releases/latest | jq '.assets[] | select(.name|match(".deb$")) | .browser_download_url' | tr -d \" | wget -O homeassistant-supervised.deb -i -

curl -s https://api.github.com/repos/home-assistant/os-agent/releases/latest | jq '.assets[] | select(.name|match("_linux_aarch64.deb$")) | .browser_download_url' | tr -d \" | wget -O os-agent-aarch64.deb -i -
Change to super user
1
sudo su
Install os_agent
1
dpkg -i os-agent-aarch64.deb
Install supervised
1
dpkg -i homeassistant-supervised.deb
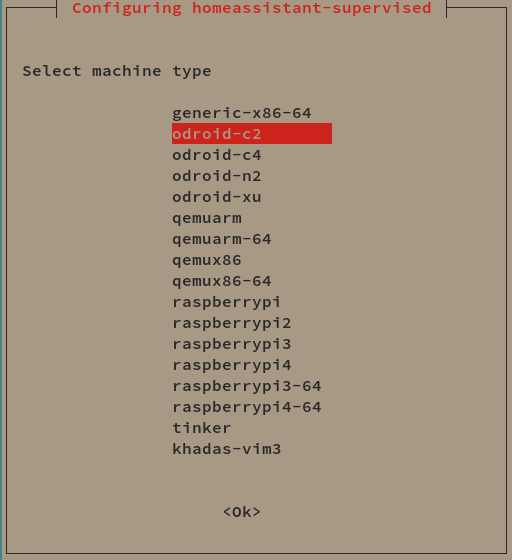
Select odroid-c2
If everything was installed correctly you’re going to see the boot logs. 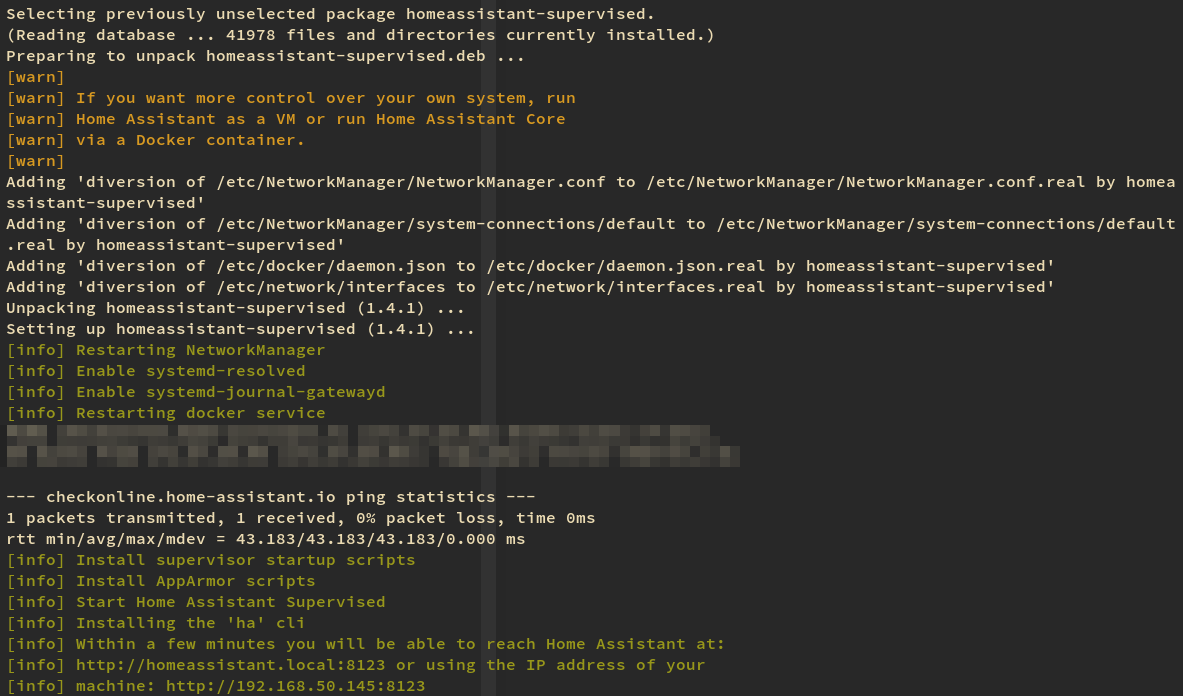
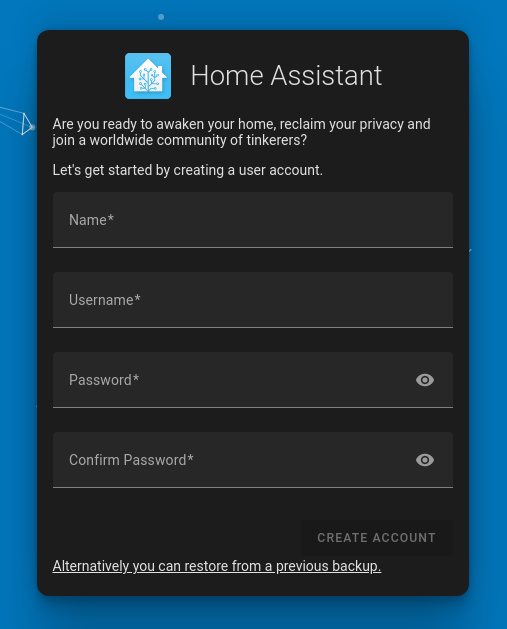
Now your HA is booting…. Wait 2~3 min and then go to your browser and type your Orange-pi IP, and you will see your HA preparing.
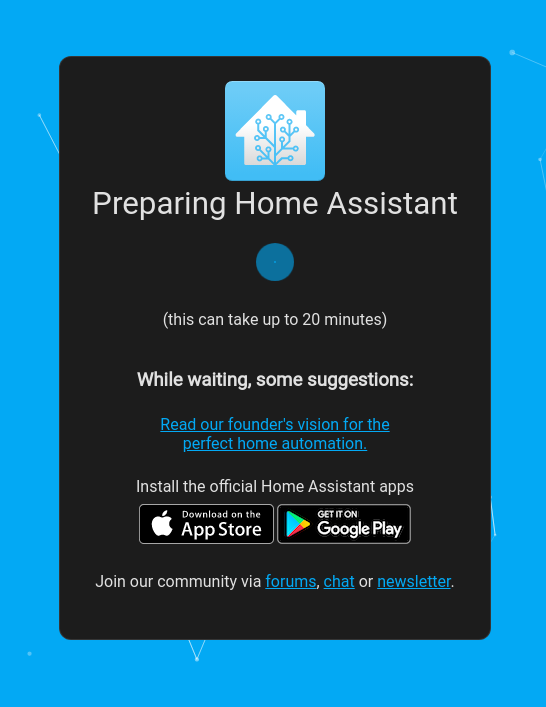
This process takes some time. Take a coffee, relax and wait until the HA shows the account creation.